Reconstitution is the process of adding liquid to a freeze-dried (lyophilized) peptide powder to create an injectable solution. Peptides ship as dry powder because they degrade quickly in liquid form. They are mixed with liquid immediately before use.
This guide covers the full process from equipment to injection-ready solution.
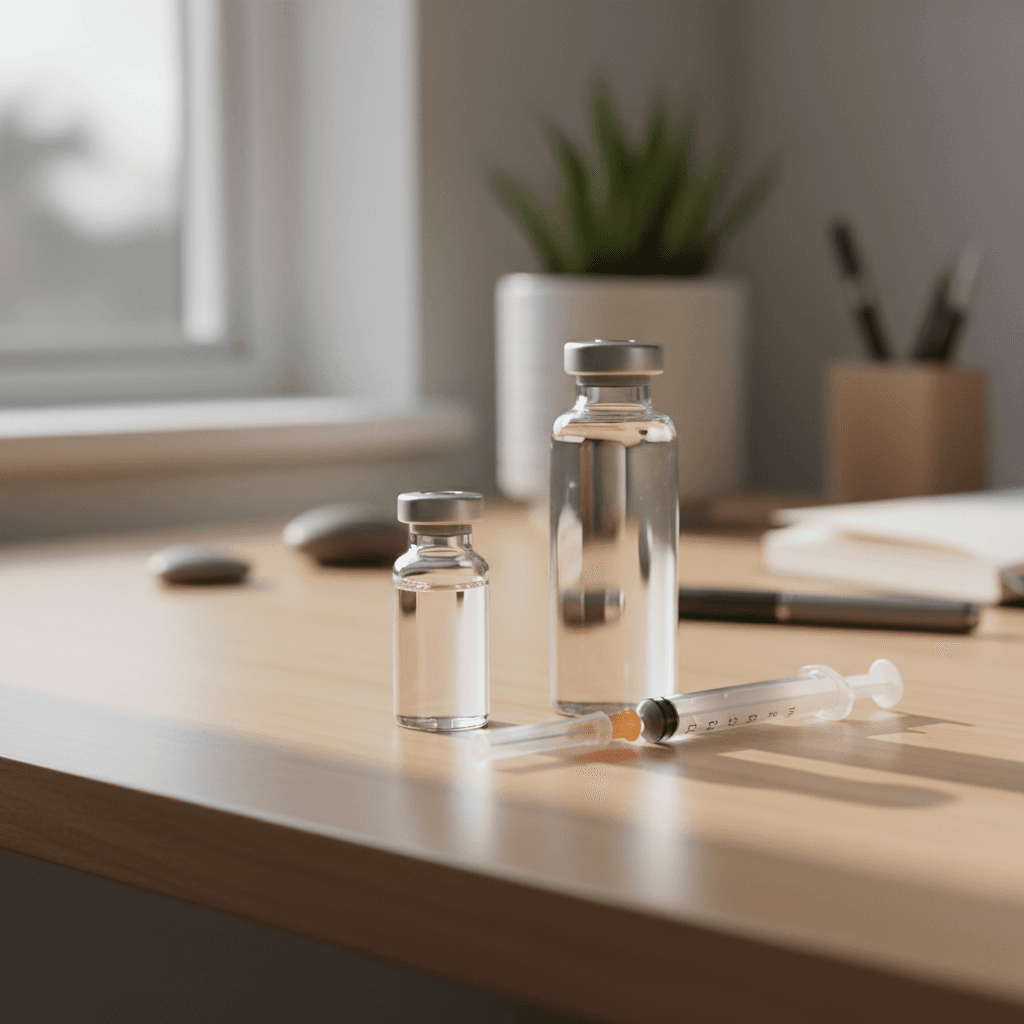
What You Need
Gather everything before beginning. A clean, organized surface reduces contamination risk.
Required equipment:
- Bacteriostatic water (BAC water) - Sterile water containing 0.9% benzyl alcohol as a preservative. This is the standard for multi-dose vials (Bacteriostatic Water for Injection, USP, DailyMed/FDA). Available in 10ml or 30ml vials.
- Insulin syringes - 1ml (100-unit) syringes with 29g or 30g needles for drawing and injecting. At least two are needed: one for reconstitution, one for dosing.
- Alcohol swabs - 70% isopropyl alcohol pads for sterilizing vial tops.
- Peptide vial - The lyophilized peptide. It should contain a small disc or puck of white/off-white powder at the bottom.
- Sharps container - For safe disposal of used needles. Needles should never be recapped and reused (Safe Injection Practices, CDC).
Optional but helpful:
- Nitrile gloves
- Clean paper towels or lint-free wipes
- A pen and label tape for marking vials with the reconstitution date
Step-by-Step Process
Step 1: Clean your workspace
Wipe down the surface with 70% isopropyl alcohol. Wash hands thoroughly. Put on gloves if available.
Step 2: Let vials reach room temperature
Remove the peptide vial and BAC water from refrigeration. Let them sit for 5-10 minutes. Cold vials can cause pressure differences that make drawing water difficult.
Step 3: Determine your water volume
The amount of water added determines the concentration. For example, adding 2ml of water to a 5mg vial of BPC-157 gives 2,500mcg per ml (2.5mg/ml). Adding 1ml to the same vial gives 5,000mcg per ml.
More water allows easier measurement of small doses. Less water produces smaller injection volumes. Most peptides work well with 1-2ml. Check the peptide's recommended water volume on its calculator page.
Step 4: Swab the vial tops
Use a fresh alcohol swab on the rubber stopper of both the BAC water vial and the peptide vial. Let the alcohol dry for a few seconds. Do not blow on them.
Step 5: Draw bacteriostatic water
Insert the syringe needle into the BAC water vial. Tip the vial upside down. Pull the plunger back to the desired volume. Remove any air bubbles by tapping the syringe and pushing them back into the vial.
Step 6: Add water to the peptide vial
Insert the needle into the peptide vial at a slight angle. Do not aim the stream directly at the powder. Instead, let the water trickle down the inside wall of the vial. Push the plunger slowly. Rushing this step can damage the peptide.
Step 7: Let it dissolve
Do not shake the vial. Set it down and let the water work its way through the powder naturally. The vial can be tilted gently or rolled between the palms. Most peptides dissolve within 1-3 minutes. Some take up to 10 minutes.
The solution should be clear when fully dissolved. A slightly yellow tint is normal for some peptides (like GHK-Cu). Cloudiness or visible particles after 10 minutes of gentle swirling is a problem.
Step 8: Label and store
Write the peptide name, concentration, and today's date on the vial. Store immediately at 2-8°C (standard refrigerator). See our storage guide for full details.
Choosing Your Water Volume
The amount of BAC water added controls the concentration, which affects how easy each dose is to measure. There is no single correct volume. It depends on the peptide amount and the typical dose size.
Why 1ml works for some setups: For a small vial (such as 2mg of DSIP), adding 1ml gives 2,000mcg per ml. Individual doses remain measurable on a 30-unit syringe. Less water also means smaller injection volumes, which some people prefer.
Why 2ml is the most common choice: For a 5mg vial of BPC-157, 2ml gives 2,500mcg/ml. A typical 250mcg dose works out to 10 units on the syringe. That is easy to read on any syringe size. For a 10mg vial of TB-500, 2ml gives 5,000mcg/ml, putting common doses in the 5-20 unit range.
Why 3ml makes sense for larger vials: For a 10mg or 15mg vial with doses that are small relative to the total amount, 3ml spreads the concentration out. This makes it easier to measure precisely. A 10mg vial of CJC-1295/Ipamorelin with 3ml gives roughly 3,333mcg/ml. Small 100mcg doses come to about 3 units, which is readable on a 30-unit syringe.
General rule: pick a volume that puts the typical dose between 5 and 20 units on the syringe. Below 5 units, accuracy suffers. Above 20 units, the injection volume is larger than necessary, which can be uncomfortable subcutaneously.
Use the peptide calculators on this site to test different water volumes before reconstituting. Each dose can be read directly in units.
Troubleshooting
Even when every step is followed correctly, problems can arise. The following covers the most common issues.
Peptide won't dissolve. Some peptides take longer than others. GHK-Cu and MOTS-c can take a full 10 minutes. If 10 minutes have passed and clumps remain, gently roll the vial between the palms for 30 seconds. The warmth from the hands can help. Do not add more water to speed things up. Do not shake. If the powder is still visibly undissolved after 15 minutes of patient swirling, the peptide may have been compromised before it arrived (heat damage during shipping is the usual cause).
Air bubbles in the vial. Air bubbles in the peptide vial after adding water are harmless. They do not affect the peptide. They will rise to the surface and pop on their own within a few minutes. Air bubbles in the syringe are a different issue. See the syringe guide for how to remove them before injecting.
Solution looks cloudy. A clear solution is the goal. Slight haziness that clears within a minute or two of gentle swirling is fine. Persistent cloudiness after 10 minutes indicates a problem. The peptide may have been denatured (from heat exposure, shaking, or age), or the water may be contaminated. Do not inject a cloudy solution. Discard the vial.
Powder stuck to the rubber stopper. During shipping, some powder can migrate up to the underside of the stopper. When water is added, it may not reach that powder. Gently tilt the vial so the water contacts the stopper. The vial can also be slowly inverted a few times. Avoid tapping or flicking the vial hard. The goal is to wet the stuck powder so it dissolves into the rest of the solution.
Water flows back out when the needle is inserted. This happens when there is positive pressure inside the vial. Before injecting the water, pull back on the syringe plunger to draw an equivalent volume of air into the syringe. Then inject that air into the peptide vial first. This equalizes the pressure. Now slowly push the water in. A second needle inserted through the stopper can also serve as a vent.
Too much or too little water was added. Too much water is not a problem. The peptide is simply more diluted, so each unit on the syringe contains less peptide. Run the numbers through the calculator with the actual water volume and adjust the dose in units accordingly. Too little water is also fine. The solution is simply more concentrated. The peptide itself is not affected either way.
Common Mistakes
Shaking the vial. This is the most frequent error. Aggressive shaking creates bubbles and can denature the peptide's structure, reducing potency (Kizuki 2023, J Pharm Sci, PMID 36167196; D'Imprima 2019, eLife, PMID 30932812). Gentle swirling only.
Using the wrong water. Never use saline, distilled water from a store, or tap water. Only bacteriostatic water (for multi-dose vials) or sterile water for injection (for single-use). See our BAC water vs sterile water guide.
Squirting water directly onto the powder. The force of the stream can damage the peptide. Aim down the glass wall and let gravity do the work.
Reusing needles. Each needle dulls after a single use. A dull needle causes more tissue damage and increases infection risk. Use a fresh needle every time (Safe Injection Practices, CDC).
Not checking the vial before reconstituting. Inspect the peptide powder before adding water. It should be a white or off-white disc or loose powder at the bottom of the vial. If it looks melted, discolored, or like a sticky residue instead of a dry puck, it may have been heat-damaged during shipping. Contact the supplier before reconstituting.
Forgetting to swab the stopper. The rubber stopper is not sterile after the factory seal is removed. Always swab with alcohol before every insertion.
Leaving reconstituted peptide at room temperature. Peptides degrade rapidly outside refrigeration. Return the vial to the fridge as soon as the dose is drawn. Even 30 minutes at room temperature repeatedly will shorten shelf life.
Storing the syringe pre-loaded. Drawing a dose into a syringe and saving it for later is a bad idea. The peptide can adsorb to the syringe barrel walls, and sterility is compromised once the cap is removed. Draw the dose right before injecting it.
After Reconstitution
The peptide is now ready to dose. Use the calculator for the specific peptide to determine how many units to draw on the insulin syringe:
- BPC-157 calculator
- Semaglutide calculator
- Tirzepatide calculator
- TB-500 calculator
- CJC-1295/Ipamorelin calculator
Each calculator factors in the vial size, water volume, and desired dose to indicate exactly how many units to draw.
References
- Bacteriostatic Water for Injection, USP. FDA prescribing information via DailyMed. https://dailymed.nlm.nih.gov/dailymed/fda/fdaDrugXsl.cfm?setid=87d6e9dc-fe3b-4593-ac9a-d7493d1959c7
- Kizuki S, et al. Relationship between aggregation of therapeutic proteins and agitation parameters: Acceleration and frequency. J Pharm Sci. 2023;112(2):492-505. PMID 36167196. https://pubmed.ncbi.nlm.nih.gov/36167196/
- D'Imprima E, et al. Protein denaturation at the air-water interface and how to prevent it. eLife. 2019;8:e42747. PMID 30932812. https://pubmed.ncbi.nlm.nih.gov/30932812/
- Safe Injection Practices / Preventing Unsafe Injection Practices. Centers for Disease Control and Prevention (CDC). https://www.cdc.gov/injection-safety/hcp/clinical-safety/index.html